Portrait stories · Worked example
How to Make an Instagram Story Photo Collage: A 9:16 Example
Photo Collage Pro Team · Published
Make a two-photo 1080×1920 story collage in your browser. Compare side-by-side and stacked layouts, follow real screenshots, and check the safe-area guide.
You have two landscape photographs and want to share them in one portrait story. Putting them next to each other sounds reasonable, but on a narrow 9:16 canvas each picture gets a tall, thin frame. Much of the original scene can disappear.
We used our 9:16 photo collage editor to export both arrangements below. This is a browser workflow for making a still image you can later upload to Instagram Story, not a tutorial for Instagram's built-in Layout feature. No social account connection is required to create the file.
See what changes when the photos are stacked
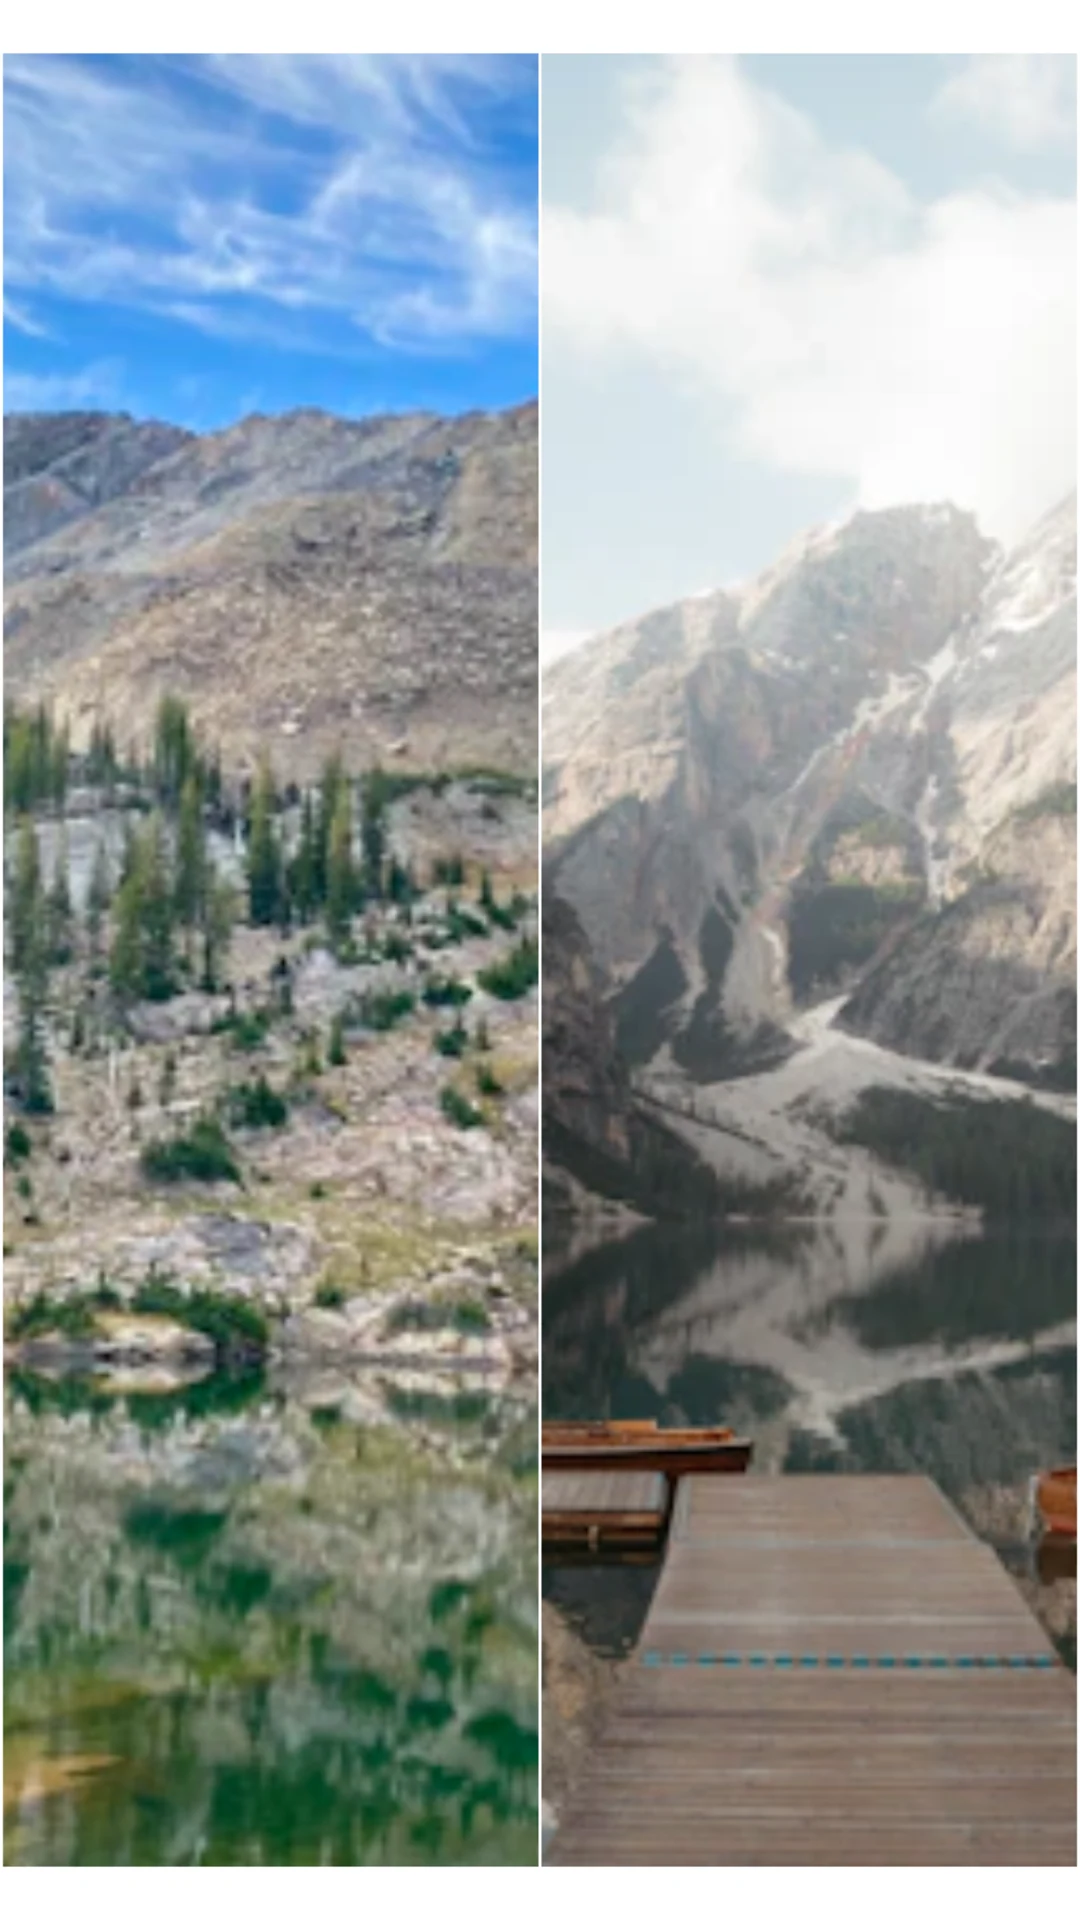
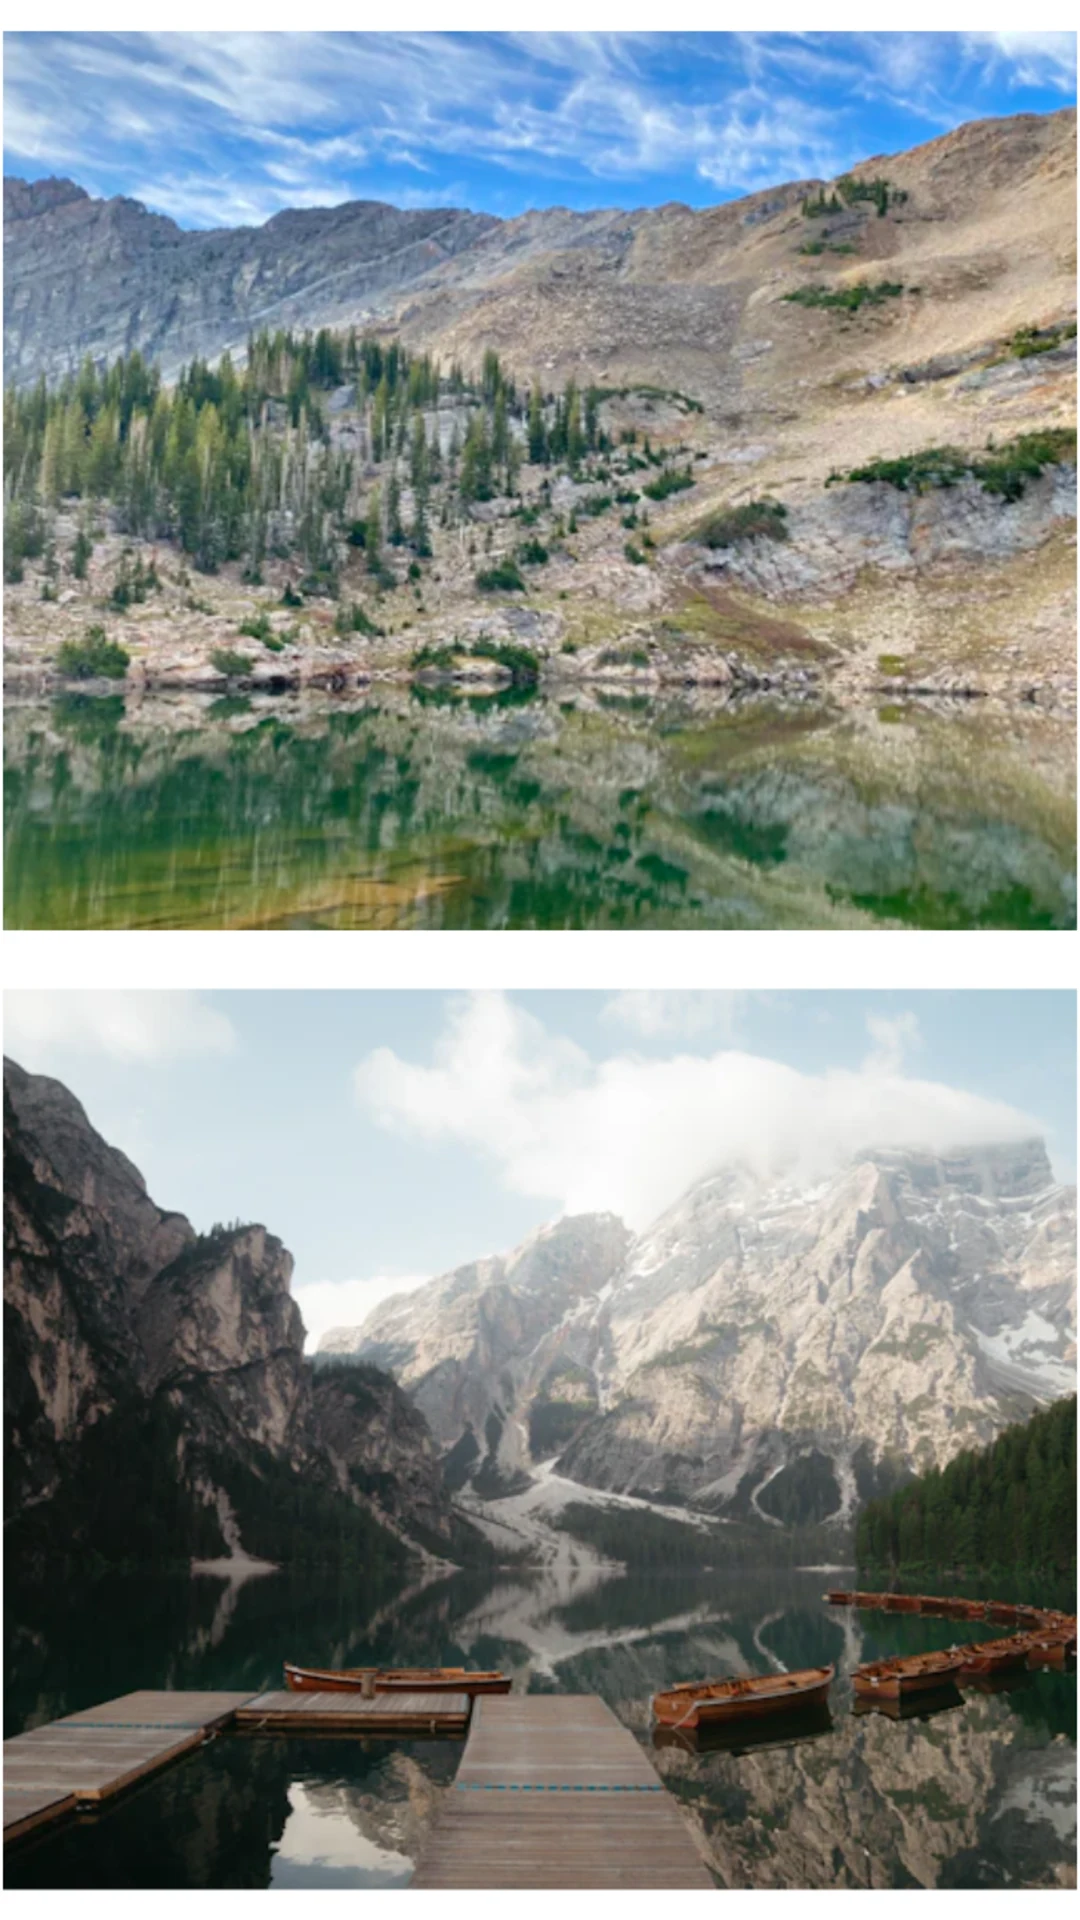
The source photographs are a 640×360 alpine lake and a 640×427 lakeside dock from our existing demo collection. The top-and-bottom layout gives each photo approximately a 9:8 frame before spacing. That is closer to their landscape shapes than the roughly 9:32 frame each receives in the side-by-side version.
Some cropping remains: fitting a landscape into a near-square frame cannot show every edge. The choice is about what the viewer needs to see. For these photographs, the wider stacked frames keep more of the scene. Two close-up portraits might work differently.
Choose the layout before adding the photos
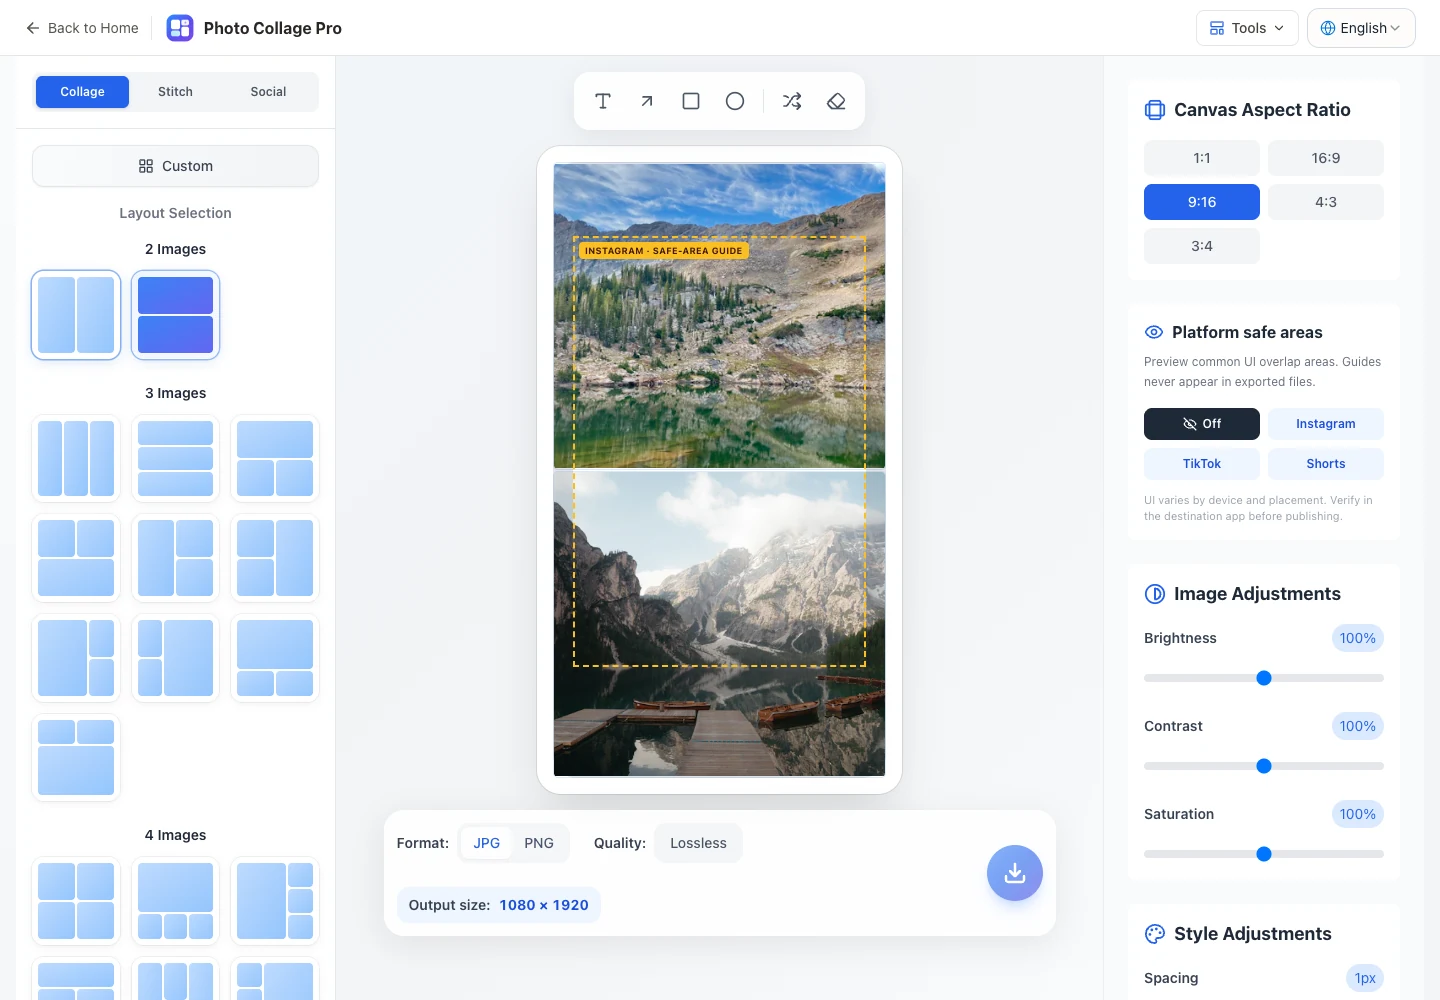
- Open the 9:16 editor. It starts with a 9:16 canvas and a two-photo side-by-side layout.
- Under 2 Images, select 2-Photo Vertical Split: the thumbnail with one frame above the other.
- Click an empty frame to choose the two photos. In this example the alpine lake goes first, followed by the dock.
- Keep 9:16 selected. We kept the initial spacing at 1 and border radius at 5, with a white background and no added text.
- Check both crops before exporting. Keep the horizon and the dock visible rather than treating the default framing as final.
For the comparison, we started each layout with the same source files. If you switch layouts after adjusting photos, check framing again: an image position or zoom that worked in the previous cell shape may need to be readjusted. When changing to a different photo count, keep your source files handy so you can add them again if the editor clears the old arrangement.
Use the Instagram guide to review the composition
Turn on Instagram under Platform safe areas. The dotted outline appears over the preview so you can check where important content sits. In this example we use it to review the landscape, without adding captions that could compete with the photos.
The guide is an editing aid. It is not a screenshot of Instagram and does not guarantee that all devices or posting surfaces cover identical areas. Keep essential text and faces away from extreme edges, then inspect the image in the destination app before publishing.
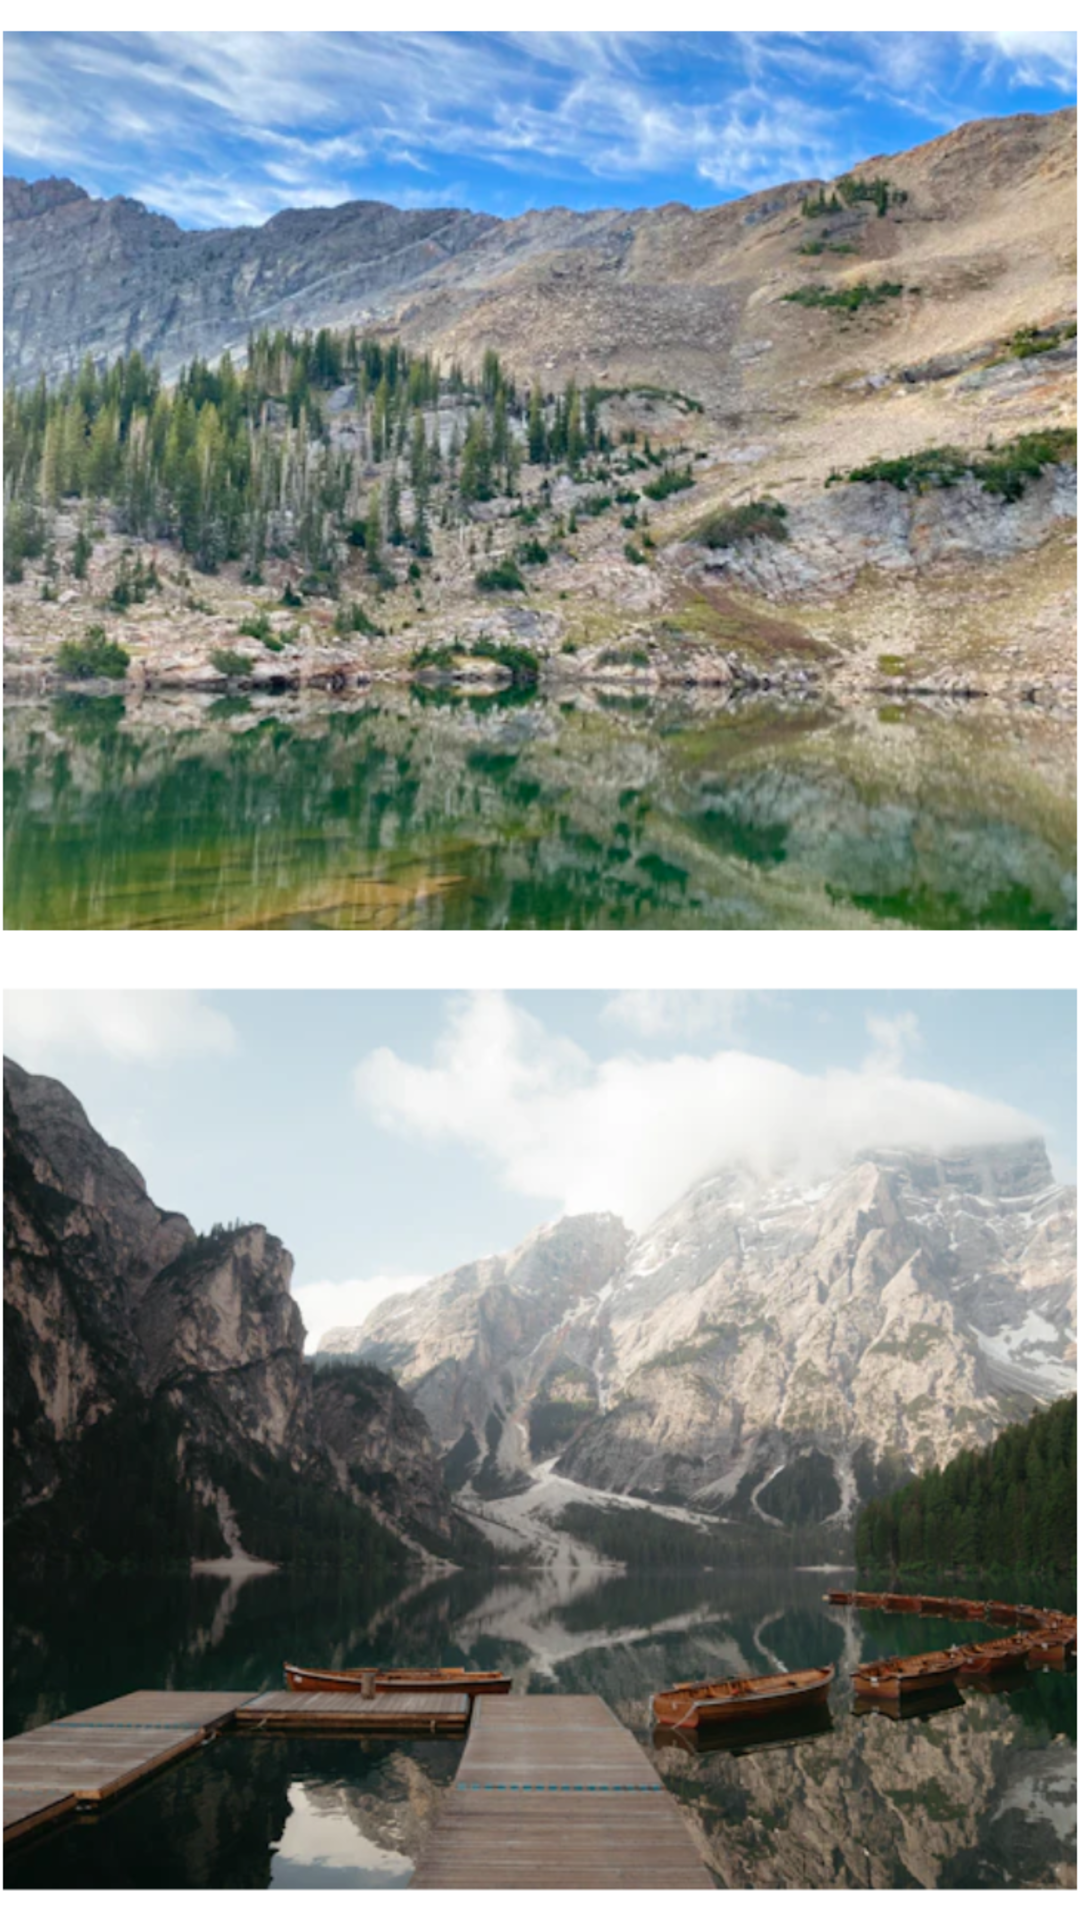
We downloaded the PNG with the guide still enabled. The clean result above has no dotted outline or guide label: those controls are excluded from the export. You can open the actual exported PNG to check this yourself.
Export, then review at phone size
Select PNG or JPG and use Download Photo Collage. Keeping 9:16 selected gives a 1080×1920 output in this editor. Switching to another ratio changes the output shape, so confirm the size shown below the canvas before downloading.
Check the file in two ways. At normal phone size, make sure the composition reads clearly. At 100% zoom, look for soft source detail or a crop you missed in the smaller preview. Our demo images are only 640 pixels wide, so the larger output is not a claim of increased photographic detail. Use larger originals for your own final artwork.
A photo-heavy JPG may be smaller; PNG avoids another lossy encoding step. The destination app can still recompress either format. This guide demonstrates file creation; it does not claim that a post was published or tested across every Instagram interface.
When two photos are not enough
For three photos, choose a layout with a large scene and two supporting details, then review every crop. Avoid squeezing a long caption into a small photo cell. For a full nine-image recap, the nine-photo collage walkthrough shows how a lead image changes the reading order.
If you are joining screenshots containing text, use screenshot stitching instead. Fixed-ratio frames can cut away document content that a continuous strip should preserve.
Example sources and scope
The two photographs come from the site's existing alpine lake and lake dock demo assets. They illustrate layout choices and are not presented as one person's travel account. Both finished images were exported from Photo Collage Pro; the interface screenshot uses the English version of the tool.